


There are many reasons why recording studios exist – aside from the obvious, not least of all because they are purpose-built spaces with excellent sound reproduction quality in mind. Typically, they will be built, designed, and developed in an area which will be much bigger than your own listening space, a comparatively small or even very small room. Suffice it to say that when we want to optimize the sound of our small listening rooms, a big part of the challenge is in trying to emulate the spatial characteristics of the room in which a recording was made, and the acoustics and speakers of the room in which the recording was mixed. Of course, this is never completely possible, because your listening room will never duplicate the physical volume, spectral balance, and size and shape of the recording space, not to mention the inability to have the musicians and instruments in your room. So, what can benefit us, if anything, or is it purely a thankless highway to nowhere when managing our own listening spaces? What can we do?
Our goal, then, cannot be to exactly copy the room in which the recordings were made, but instead, we can manage our listening spaces to create a sense that we are in a bigger room than we actually are. Perhaps it is mainly for this reason (among others) that some studio engineers prefer high-directivity speakers for studio monitoring, and yet employ more diffuse-sounding environs in their home listening rooms.
One issue to deal with is if the primary sound from the speakers arrives too close to the arrival time as the earliest reflections, or if the reverb decay times in the listening room are too short. (If they arrive at the same time, this too sounds unnatural because it messes with the spatial cues of the room size due to partial cancellation and reinforcement of varying frequencies.) This results in something which our brain hears as one overall sound, because both the direct and reflected sound are so close together. When this happens, we lose some of the perceived spatial cues, which has a detrimental effect on the naturalness and appeal of our soundstage presentation. So, we want to make our room sound bigger by making the reverb decay time longer, by using absorbers and diffusers and reflection.
If your reverb is excessive, you could use soft fabric furnishings, room dividers and even egg boxes (the classic low-budget home recording studio solution) on the hard wall surfaces, all of which make a significant difference in reducing excessive reverb. If you have the patience or simply want to test out the merits of where you may decide to place a professional diffuser, you could create some box tester panels and fill the boxes with soft fabric to absorb more sound than using the egg boxes alone.
There is no exactly correct right or wrong here, because we all hear slightly differently (and have varying preferences in the tonal balance we prefer) but nonetheless, improvements can almost always be made. In our last article (in Issue 176) we touched on the idea of using a balloon test to gauge a room’s reverberant character. To recap, sit in your preferred listening position and have a friend burst a series of equally-filled balloons, one at each speaker placement point in the room, and listen for where the “slapping” echo sound comes from off the walls. You are not listening for the direct pop of the balloon itself. It should be mentioned that this is perhaps more advantageous than a simple hand-clapping test because the when you burst the balloon, you are creating a much bigger impulse to listen to, which also reaches into the bass frequency range more than just the hand-clapping exercise.
If you take the time to try this and hear what might seem to be too much echo or reverb, don’t then panic and rush out and treat your room with absorption all over the wall surfaces. Why? The tendency is to overcompensate and then deaden the room too much. We want to retain some of the liveness and reverberant quality of the room, in line with our goal or more faithfully re-creating the recording space. Reverberation time is measured in a unit called RT60, the time it takes for a sound to decay by 60 dB. So instead of going crazy with tweaking the room, perhaps try no treatment at all and consider, as mentioned in a previous article, reorienting the speakers and their toe-in, or even changing your speakers for a model with greater directivity. (See the previous article in Issue 176 on the benefits of narrow-dispersion speakers.)

Illustration of RT60 reverberation time. After the initial impulse, the reflected sound gradually trails off. Courtesy of Wikimedia Commons/modif.
In the studio, the instruments each have their own influence on the sound of the room’s reverb, making for a composite (and ideally sonically pleasing) effect, and if you clad out your listening surfaces with absorbers and diffusers too extensively, you will likely adversely affect the studio engineer’s intent.
On another topic, what if your room’s frequency response doesn’t “match” that of the recording and interferes with it? You may then choose to tweak a recording’s spectral balance with tone controls, perhaps on a recording-by-recording, or even a track-by-track basis. I have found myself doing the former more often, but it ultimately depends on how bothered I can be! (Of course, this assumes you even have tone controls in your audio system.) In any case, listening in an overly-deadened room just sounds too “dried-out” and unpleasant. These spectral balance tweaks (if available) are also very much more of a finishing touch on how you listen, so, back to room treatments.
Here’s an all-too-common issue: your room is open on one side, perhaps to a hallway or other family space, with the other speaker close to the opposite wall – making for what initially appears to be an impossible situation in getting the sound right. But think of the open side of your room as effectively a large absorber. In this case, placing absorptive material on the wall closest to one of the speakers can help make both speakers more balanced in sonic behavior. Does the wall (that’s close to one speaker) happen to have a window? If so, you could replace the blinds on the window with curtains – sound absorbers. If you already have curtains and feel it’s needed, you could add more absorption by stitching in or placing a felt liner behind them.
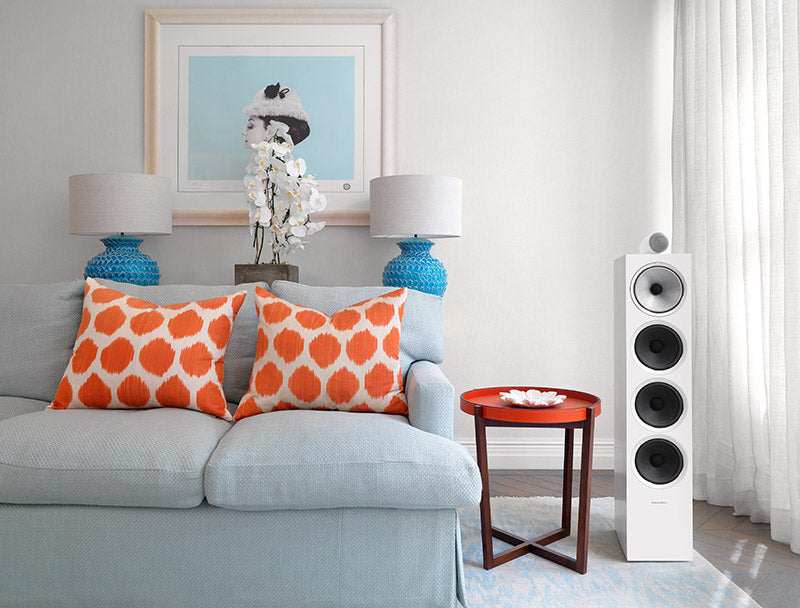
Curtains can be an effective method of controlling sidewall reflections, or helping to even out your speakers’ room behavior if one is near a wall and the other near an open space. Shown: B&W Model 702 S2 loudspeaker. Courtesy of the B&W Media Gallery.
You may be in the enviable situation where you are planning your room treatments in a completely new and currently empty room. If so, just be conscious of the fact that by the time you have added in your furniture, rugs and pictures on the wall, your room’s acoustics will be quite different from when it was empty. This is just to encourage a pause for thought, that you may indeed already have enough room “treatment” once it’s full. It’s analogous to the situation encountered by front-of-house sound mixers who do a sound check when the hall is empty, and the sound changes after the audience comes in.
If you’re lucky enough to have curtains on both side walls (or the rear wall) of your listening room, they provide a hugely flexible way of changing how your room sounds very quickly, by changing the amount of how open or closed they are. You can even tailor the room’s acoustics for classical, rock or jazz performances. Sounds tweaky, but we are audiophiles after all.
If you have an L-shaped room, the open end of the “L” will be acting as an absorber. In this case, you may choose to place curtains on the closed/walled side opposite the open end, to provide a better reverb balance in that space. Again, we do not want to eliminate all the reverb, which makes for an overtly unnatural sound, but maintain enough to get a feel for what the “live” recorded performance was like.
Header image courtesy of Pexels.com/Lisa Fotios.
Previous installments in this series appeared in Issue 176 and Issue 175.
0 comments