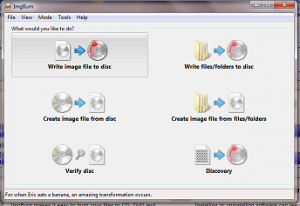
- Read- Read a disc to an image file
- Build- Create an image file from files on your computer or network - or you can write the files directly to a disc
- Write- Write an image file to a disc
- Verify- Check a disc is 100% readable. Optionally, you can also have ImgBurn compare it against a given image file to ensure the actual data is correct
- Discovery- Put your drive / media to the test! Used in combination withDVDInfoPro, you can check the quality of the burns your drive is producing
 You can get ImgBurn at http://www.imgburn.com There's a lot of spurious other stuff available for downloads on this page, so click “downloads†in the upper left corner and you'll see this page.
Click on the big blue box that says “BetaNews†and the “Download now†Ignore all the other stuff or you'll be busy all night.
 Let IMGburn download and install. Once it's done, you'll see a box pop up.
Click the upper left “Write image file to disc†command button.
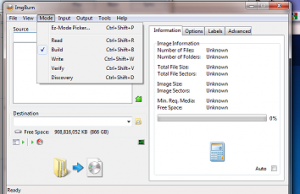
 Go to “Mode†and select “Buildâ€
Drag the files from the folder where they're stored to the “source†box. You can search from this window, but at the right of the “source†box you'll see a white search button right above the yellow search button (above the red “Xâ€) USE THE WHITE BUTTON to get the files, the yellow won't work. Don't ask me why.
Make SURE these are WAV files.
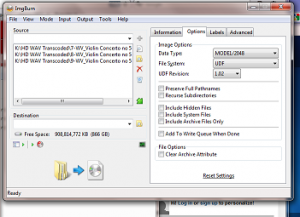 Set up the Options tab:
Options tab:
o Data Type: MODE1/2048
o File System: UDF
o UDF Revision: 1.02
o No other boxes checked on this tab
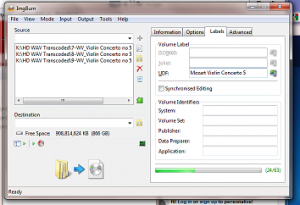 Set the label tab with the title, artist, or whatever you like.
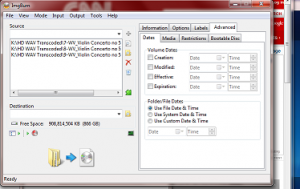 Date tab: Use File Date & Time selected
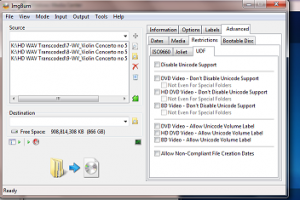 o Restrictions tab: defaults are fine, on the UDF tab nothing is selected
o Bootable Disc tab: no selected options
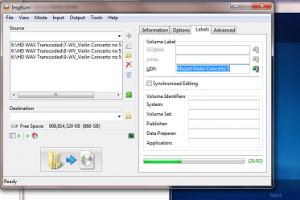 Click the “build†button in the lower left corner (shown with the file and arrow to the disc)
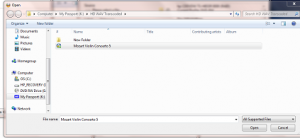 Pick a spot to store the build file. Remember where you put it, you'll use it in the next steps. This file is stored with a file extension of “.ISO†Let ImgBurn save the build file, it will take a few minutes.
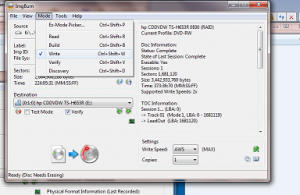 Go back to ImgBurn Mode tab and select “Write†and make sure the ‘verify' checkbox is selected right there under the ‘destination' box.
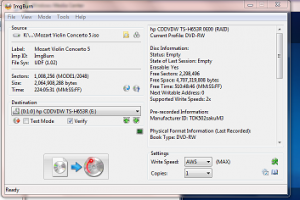 Drag the .ISO file you made above to the “Source†box as shown above. Once that's done, make sure there's a DVD in the drive and click the “burn†button in the lower left corner as highlighted with the blue arrow in the middle.
The disc will start to burn.
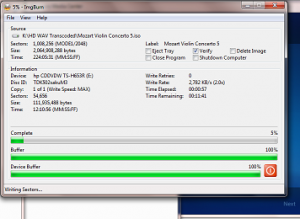 Don't pull the disc out yet. The tray will pop open, and then reclose. Don't interrupt as it need to verify the disc.
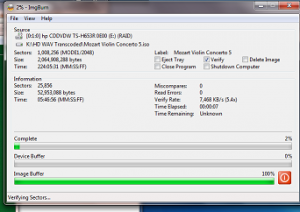 Let it verify the disc.
It will confirm the burn is complete and you can eject the disc. You can play this on your PWT.
Enjoy.
0 Comments
Loading comments...