In our previous episode, we had a look at the history of magnetic recording. This time, I shall focus specifically on 1/4-inch tape and the mind-boggling number of applications it has found in audio alone!
Once upon a time, the earth was flat and recorded sound was monophonic. It started out as very monophonic! As in, the recording took up the entire width of the 1/4-inch tape.
Simple? Not quite. The tape could run at 3-3/4 ips (inches per second), 7-1/2 ips, 15 ips or even 30 ips. For certain applications requiring extra-long recording times, 1 7/8 ips and 15/16 ips were also used. Reels came in various sizes, from 3 inches (as used in James Bond-esque spy machines) all the way to 14 inches. Not only would the larger reels not fit the smaller machines, but even the larger machines would often not be able to deal with smaller reels due to wildly different torque and tape tension.
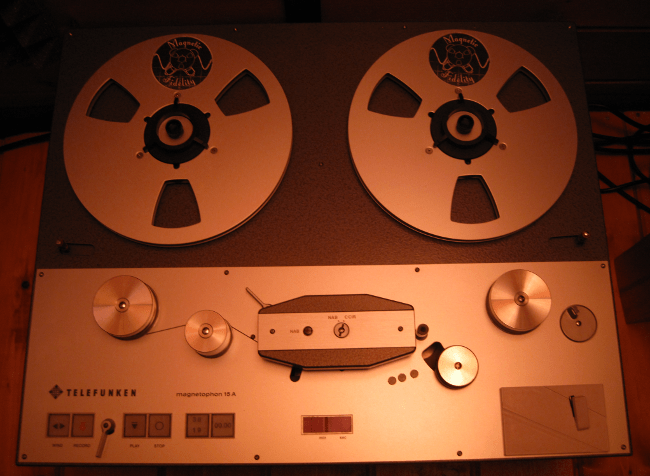
(Header image: Telefunken M15A 1/4-inch tape machine, fitted with custom butterfly heads made by Studer on special order. Photo courtesy of Magnetic Fidelity.)
The reels themselves would be held on the tape machine by means of a number of different, incompatible systems. There are Trident hubs, NAB hubs and AEG (DIN) hubs, each with different types of sides to go with the hub. The AEG setup did not even have two sides, but only a platter below the tape reel.

Two Studer A80 1/4-inch tape machines, one with meter bridge and one without. Photo courtesy of George Vardis.
Then there’s equalization!
This is a characteristic shaping of the recording and reproducing amplifier’s frequency response, to prevent overloading of the tape and to achieve the best utilization of the medium’s dynamic range. In other words, the use of equalization circuits would maximize the signal to noise ratio while trying to maintain a safety margin away from tape saturation.
Not only was equalization dependent on tape speed, there were also multiple systems in use. There was the NAB EQ curve for each speed, the CCITT EQ, the IEC EQ, CCIR EQ, AES EQ, plus several proprietary systems used by different manufacturers and companies at different times including Ampex Master Equalization (AME), NagraMaster, MRL Studio Master, and so on. CBS, RCA, Magnecord, and other companies also used their own equalization curves.
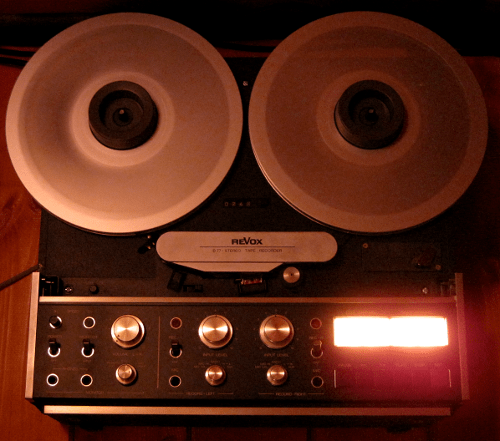
Revox B77 1/4-inch machine. Photo courtesy of Magnetic Fidelity.
Then things started to become less monophonic, if not less complicated.
This process began with using two monophonic tracks, each occupying half the width of the 1/4” tape (half-track mono). Then these two tracks became the left and right channels for stereophonic recording! But it wasn’t quite as simple as that. To avoid excessive cross-talk between the two tracks, there was a guard band between them. How wide? Well…it depends! NAB called for a 2 mm track separation, while DIN called for 0.75 mm.
But then came the need to synchronize these two tracks with other equipment such as video equipment. So a third track was added in that narrow 2mm guard-band space which was the timecode track. This was not audio, just control pulses used to synchronize the audio with the image, or more audio from other tape machines by using timecode.

Studer/Revox PR99 Mk III 1/4-inch machine in its broadcasting configuration. Photo courtesy of Magnetic Fidelity.
The three-track concept evolved into three tracks of audio, of different track widths than the audio-plus-timecode configuration, for three-channel stereo (left, center, right) or multi-track recording. This was still done on 1/4-inch tape.
These three tracks quickly evolved into four tracks of audio. This was used for quarter-track stereo (one stereo program on side one and then the tape was flipped to play side two), quadraphonic (front left, rear left, front right, rear right) recording and multi-track recording.
By the mid 1970s the cassette tape was pretty well established and 8-track cartridges were already on the way out. Both formats had about half the track width of what four tracks took up on 1/4-inch tape. This meant that there was still room for more tracks, and this arrived in the form of eight channel multi-track tape machines that used 1/4-inch tape, such as the Fostex R8.
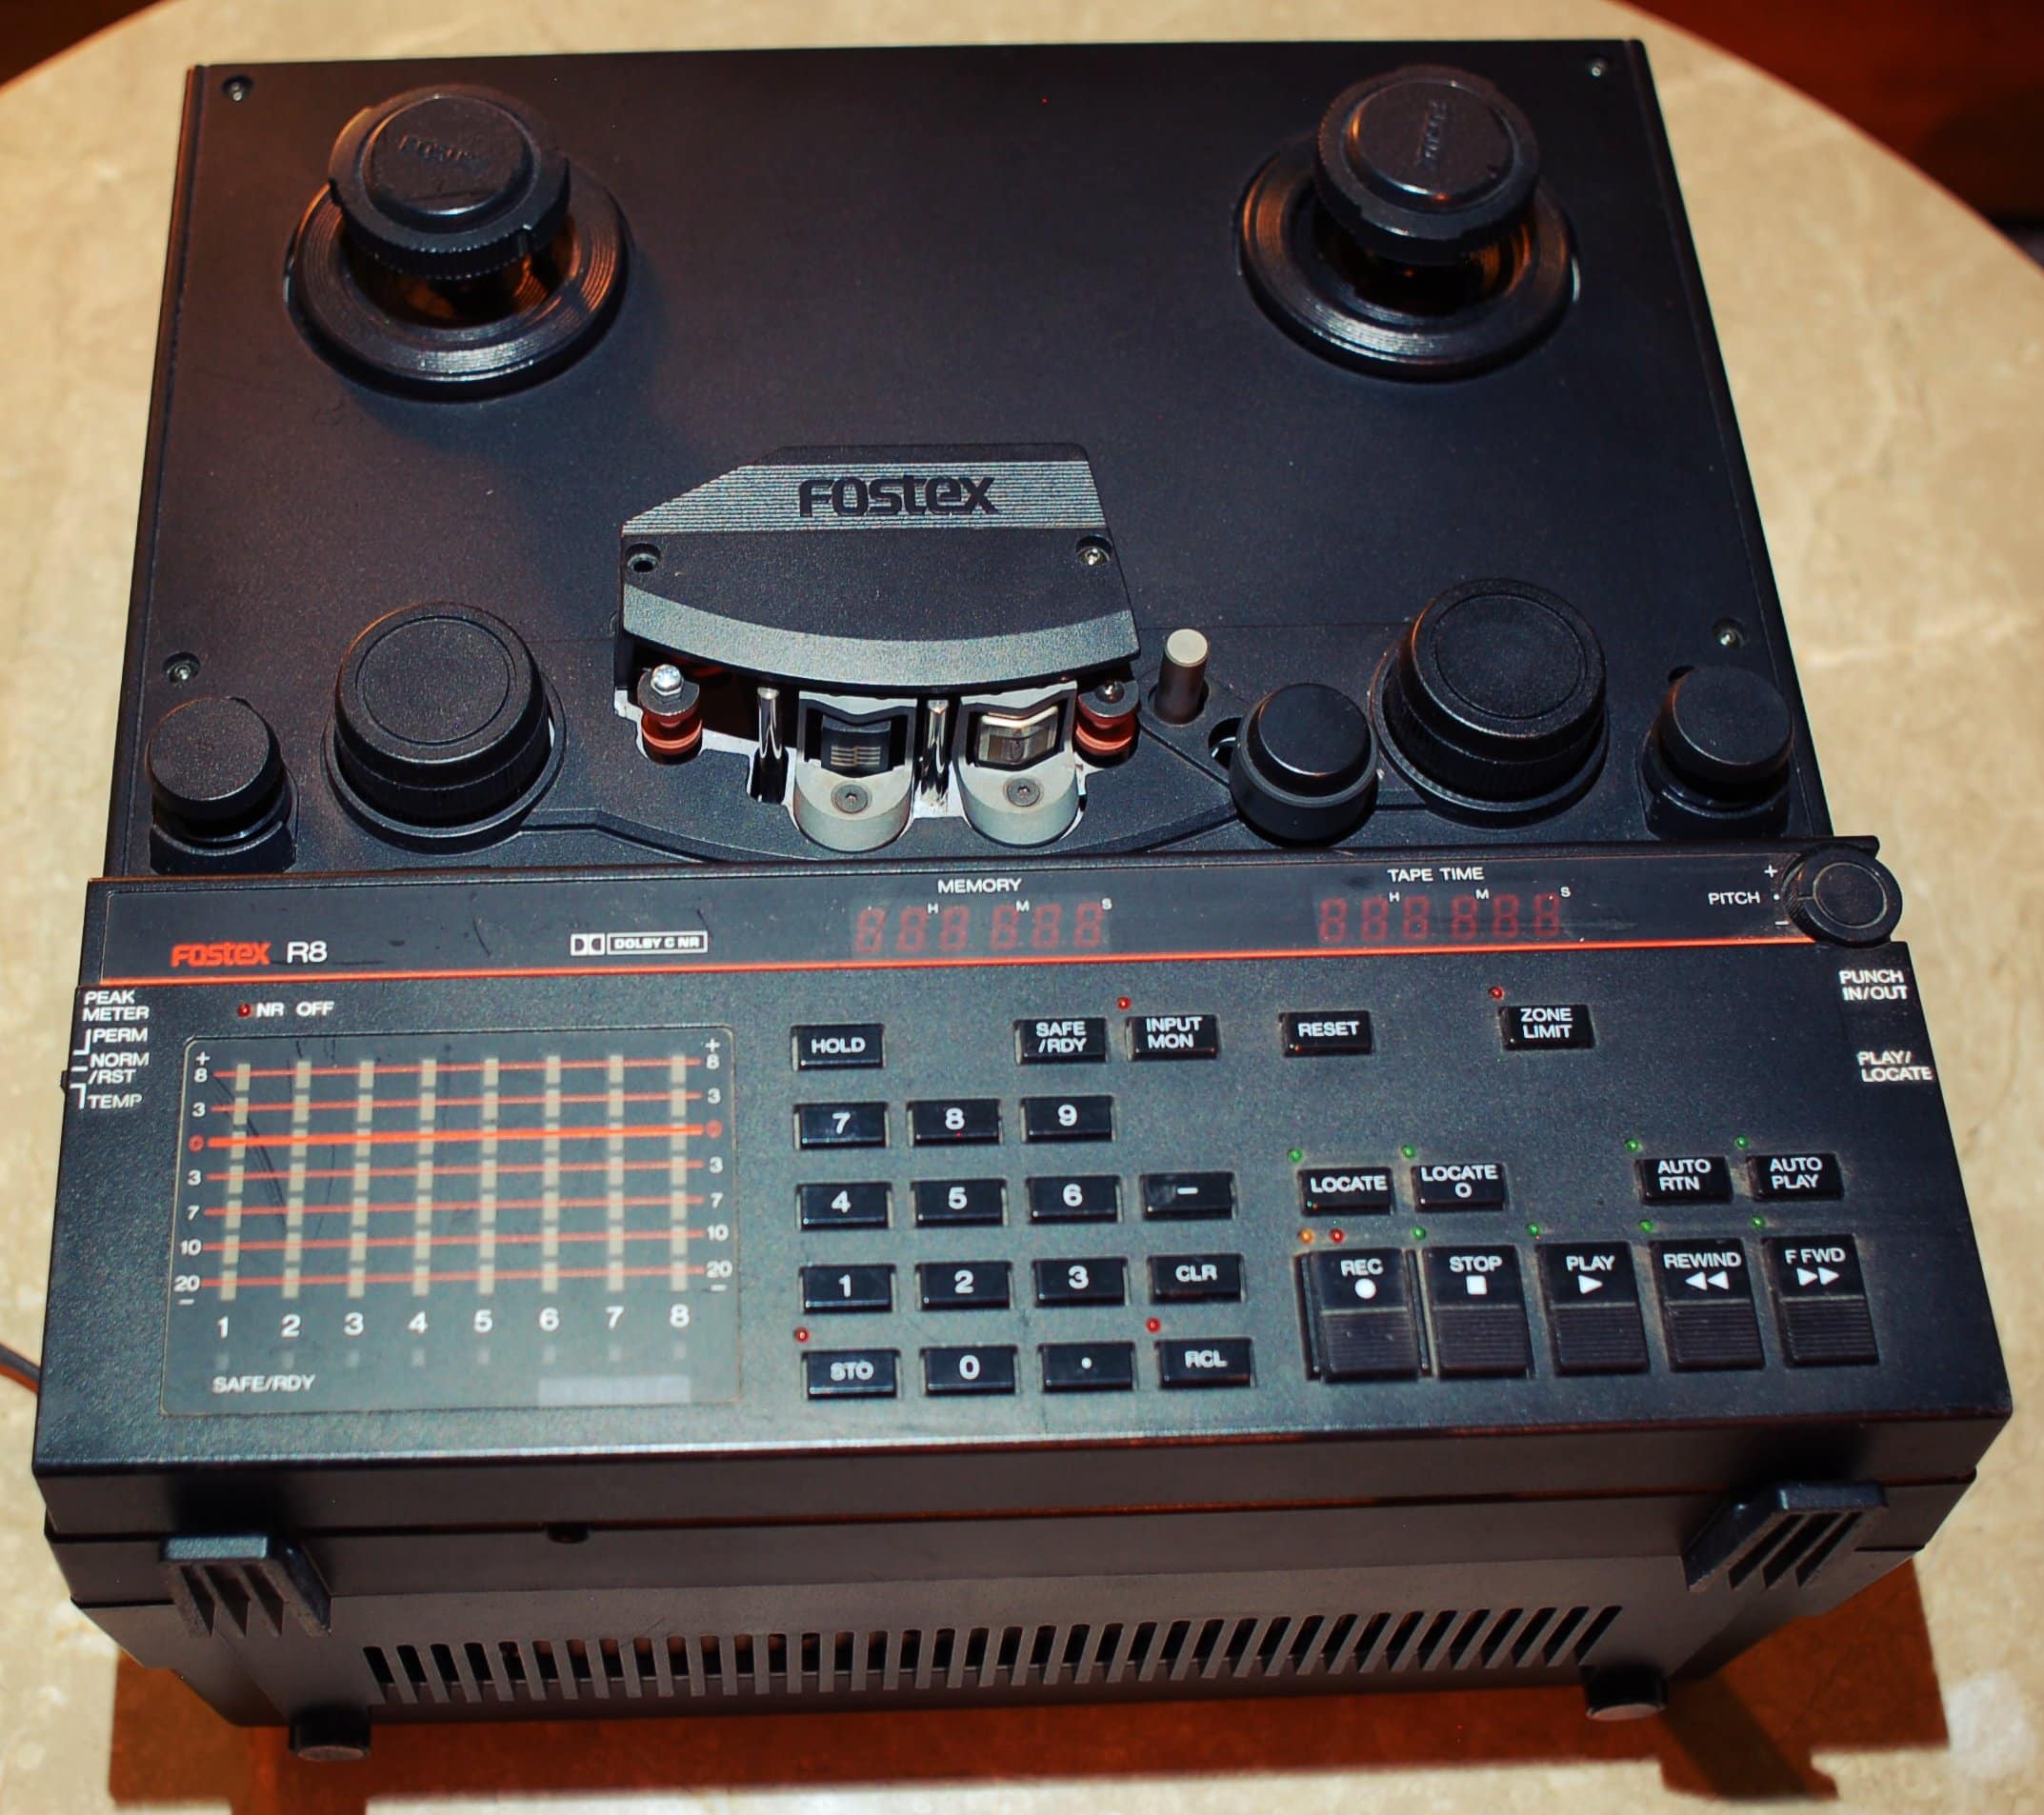
Fostex R8 multi-track tape recorder, squeezing 8 tracks on 1/4-inch tape running at 15 ips. Photo courtesy of Sabine Agnew.
Eight tracks of audio on 1/4-inch tape had approximately the same track width as the tracks on cassette tape. Unfortunately, this narrow width resulted in greatly increased noise. While the faster speed of 1/4-inch tape used on some popular recorders of the time (15 ips in the case of the R8) reduced the noise to some extent, mixing 8 channels of audio plus noise added up to quite some tape hiss, so noise reduction systems became popular. Not one but several systems to further complicate matters.
Dolby Laboratories introduced their professional noise reduction systems for recording studios and different consumer systems for home recording devices. All in all they had several different systems, named Dolby A, SR, S, NR, B, and C. Telefunken introduced their Telcom C4 and High Com systems, DBX offered the DBX professional Type I and Type II formats, and several other proprietary systems appeared, which were more popular for cassette tape rather than 1/4-inch tape.
To sum up, when it comes to 1/4-inch tape we have tape speed, equalization, track configuration, reel size hub and noise reduction systems as the “hard-wired” parameters. Whatever combination of these was used in recording the tape must also be used to reproduce it.
Then there is the subject of recording level. At least this can be adjusted by the user to ensure accurate recording and reproduction, although proper adjustment usually requires a calibration tape, some measurement instruments and a screwdriver or three. Eventually, as market trends were demanding products with lower user brainpower requirements, to match modern lifestyles which were increasingly liberating people from the great burden of having to think, manufacturers started introducing analog tape machines with digital calibration controls and even “presets” for different tape types! Goodbye screwdriver! This feature was first offered on the Studer A807 and affected several of the then-latest generation tape machines. Some engineers even actually liked this. I’ll personally take a screwdriver any day over such digitalia; I find it faster and more accurate.

Akai GX630D in the usual 7-1/2 and 3-3/4 ips, quarter track stereo configuration. Photo courtesy of Magnetic Fidelity.
The calibration controls allow the operator to adjust level, bias, equalization and a few other parameters, to match the type of blank tape to be used for a recording, or the parameters with which a tape had been recorded, to ensure correct playback of the tape.
Mismatch in level is therefore yet another obstacle to accurate reproduction of tape recordings.
Recorded level on tape is measured in magnetic flux density, typically in nWb/m. Different tape formulations can handle different levels of magnetic flux density before tape saturation occurs.

Akai GX630D in the rare Pro High Speed, 15 and 7-1/2 ips, 2-track stereo configuration. Photo courtesy of Magnetic Fidelity.
Early tape formulations couldn’t take much, while modern professional tape will accept much higher levels. Overloading the tape or the electronics of the tape machine results in distortion. However, there is a region of tape saturation which is pleasantly mild and is often used for artistic effect on certain styles of music.
A further physical obstacle of 1/4-inch tape is the fact that it was also used in several cartridge formats such as 8-track cartridges. These require a suitable cartridge playback deck. While the tape itself is in some cases the same type used in reels, it is lubricated when packing into cartridges to allow the cartridge mechanism to operate smoothly.

One of the four remaining Sony/MCI JH-110M 1/4-inch preview head tape machines in the world. This machine is playback-only but has two playback heads separated by a long tape path around various rollers. The “preview” head delivers the same signal as the “program” head, but some time in advance, to the disk mastering lathe control electronics. This allows ample time for automatic pitch and groove depth control before the program signal reaches the cutter head. Photo courtesy of Agnew Analog Reference Instruments.
From the basic consumer tape machines all the way to the finest professional super-precision tape transports of all time, there was and is a huge selection of 1/4-inch tape machines for a wide range of uses from basic music playback to multitrack recording, covering a wide cost and complexity spectrum. Ranging from tiny portable machines all the way up to 160-pound beasts, there’s bound to be one you will want to take home with you!
Having personally used most if not all of the formats mentioned thus far, I have a soft spot for 1/4-inch tape and have experienced deeply rewarding sounds from it. In its master tape configuration, 1/4-inch tape has been used at some point in the recording/mixing/mastering stages of the vast majority of our recorded cultural heritage and is among the most important audio formats of all time.