Feeling Balanced
There’s never been a time when we’ve had more electromagnetic interference in our homes. Electromagnetic interference (EMI) is radio-frequency energy that can be emitted by common household electronics such as TVs, cell phones, computers, and light ballasts. EMI can wreak havoc on high bandwidth analog circuitry, compromising sound quality and stability. Even some high-end components such as DACs and class D amplifiers generate moderate to high levels of EMI. Most audio components have their chassis grounded, creating a Faraday cage which helps shield sensitive low noise circuitry from this interference. | Unfortunately, this doesn't make them completely immune. This is because the weakest part of our systems from an EMI perspective is actually our cables, which act as excellent antennas, picking up noise and sending it directly to where we don't want it... the input of our amplifiers. The best weapon we have to reduce this noise pickup is to use balanced components and interconnects in our system. A truly balanced connection rejects noise because the receiving end only amplifies the difference between the two phases, thus canceling the noise that is common between them. For this reason, balanced connections are standard in the professional audio field; without them, long runs from microphones and sound boards would be impossible to implement quietly. Due to the size of the pro audio market, microphone cable is mass-produced, which increases its cost efficiency. The Mogami W2534, which averages around $2/foot, is my pick for a nice quality microphone cable made from oxygen free copper that also has a fairly low capacitance for a quad balanced type. This is my choice, but it doesn’t have to be yours. There are plenty of choices online so I urge you to experiment with different cable types and brands to see what sounds best to you.Cutting and Terminating the Cable
Now that we have picked the cable, determine the desired length and cut two equal pieces. I'll be making a 4-foot cable, but don't hesitate to make yours as long as you need. Unscrew a female XLR connector so that it separates into four pieces. You should have a large exterior metal case, a piece that contains the contacts, and an exterior and interior contact cover. Slide the exterior cover (the metal and rubber piece that you just unscrewed) and slide it down the cable inserting the narrow rubber side first. Strip and tin the wires first
 Align the XLR shell and body
 Both ends terminated and covers put over XLR
Looking Good
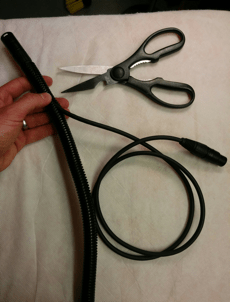
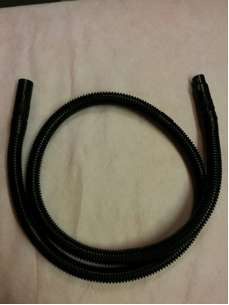
So we managed to make a high performance cable for a fraction of the price of one on the market...except something’s not quite right. Expensive cables don't just measure and sound good, they also look attractive, outfitting our systems like a good set of rims complements a sports car. Here's how to make our new cable look like a thousand bucks. Cut a piece of ½- inch diameter corrugated split loom tubing a few inches longer than your cable. You can find this tubing at your local hardware store or many places online. Stuff the cable inside the tubing and cut the excess so that both ends of the tubing cover and stop on the rubber contact covers located on the XLR connectors. Use electrical tape to tightly secure the tubing on each end. I also ran a few strips of tape every foot or so to make sure the split in the tubing remains closed.
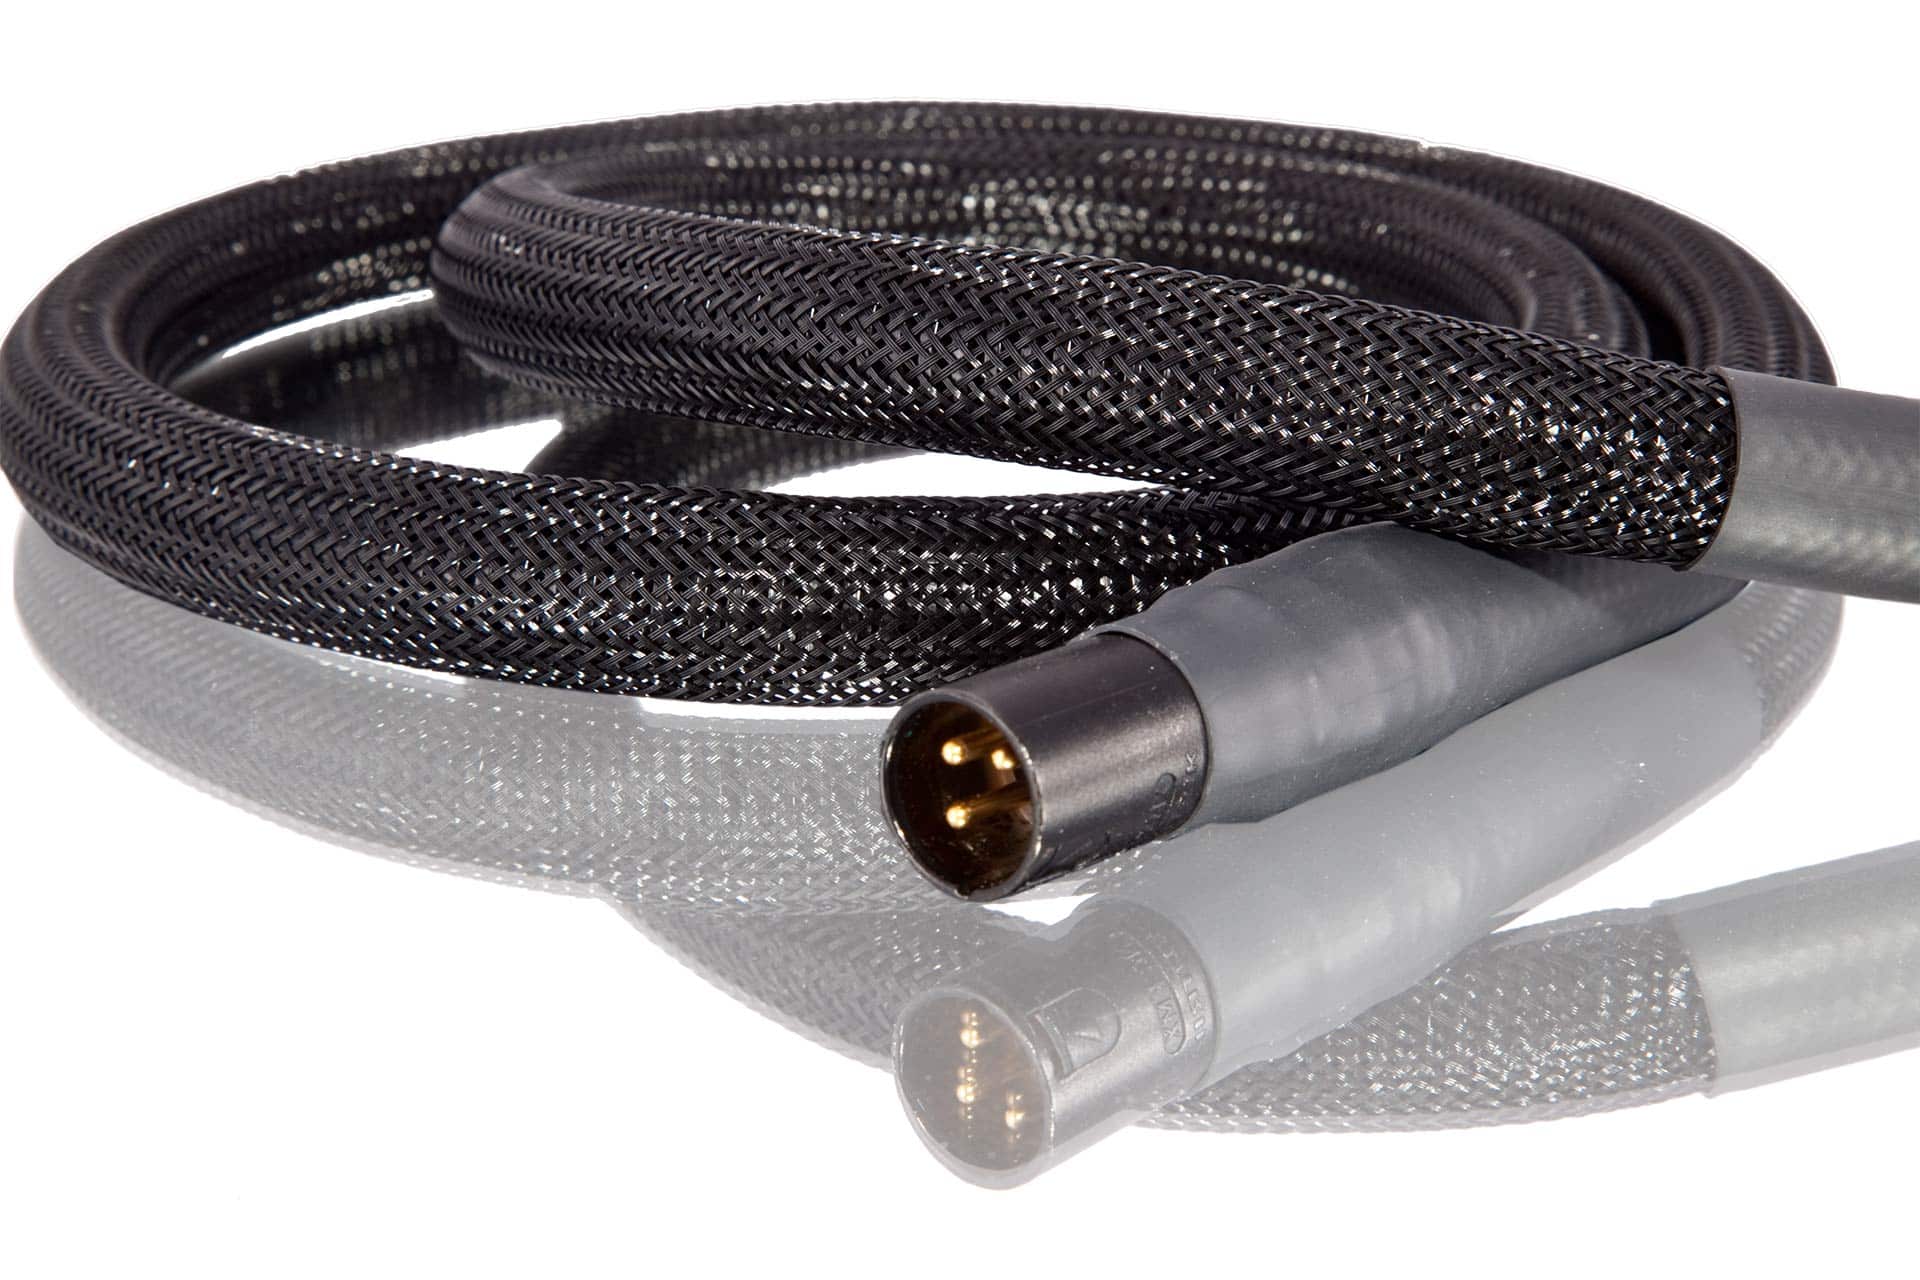
 Now slide the ½-inch techflex over the cable so that it fully covers the plastic tubing. Cut the excess off and use a lighter to lightly singe the ends of the techflex. As was done with the tubing, use tape to tightly secure the ends of the techflex.
Cut 3 to 4 inch pieces of heat shrink and place one at each end so that it covers the electrical tape. Use a hot air gun to shrink the tubing into place. If you are using a hairdryer, turn it on high and place the shrink tubing within a few centimeters of the dryer. It could take a few minutes of heating until the tubing has completely shrunk.
Voila! Just repeat this process for the other channel and you're finished!
 Finished XLR interconnect
0 Comments
Loading comments...