


Copper-veneered speakers from Copper reader Mike Van Hoe…it’s a natural combination! In Issue 188 we featured Mike’s copper-clad, custom-built loudspeakers. Well, he didn’t stop with one pair. Here’s the second set of speakers, built using Enchantment veneer covering from BasicCopper.com. We’ll let Mike tell the story:
When you build anything you need to think the whole process through and have a plan. Veneering with copper is actually a pretty straightforward process, very similar to wood veneering. There are several tutorials on YouTube.
One of the most enjoyable parts of the veneering process is picking out the veneer! Before you start applying it, make sure your cabinets are grain-filled and sanded as near to perfect as you can get. Imperfections have a way of biting you in the end. Make sure all the crossover and speaker terminal wiring is complete and attached. It should all be screwed or glued in before start. You don’t want to be digging inside your cabinets after you have veneered them.
I built the cabinets from MDF using plans supplied by the Creative Sound Solutions (CSS) website.
I stuff the open driver holes with crumpled up newspaper before I start. I measure the copper sheets, in this case BasicCopper.com’s Enchantment style (see the ariicle's header image above), to be a little wider and longer than the cabinet – at least 1/2-inch or so on each side. You can use scissors, a utility razor, or tin snips to cut the copper. Gentlemen, do not use your wife’s good scissors! That was mistake number one for me.
Apply contact cement on the copper and the cabinet separately, using a roller. Let them dry for a few minutes. Once the contact cement is just dry, line up the veneer and smooth it on, starting from one end, and smooth it on using a scraper with a rounded plastic edge until you get to the other end. You must be very careful and precise when you line up the veneer. It helps when there are two people to do this because once the two surfaces touch each other it is...well…GAME OVER. They are cemented together permanently. Elbow grease and patience is a must.

The wood pieces for the enclosures.

The scraper and roller used to apply the copper veneer.
As you use the scraper to smooth the veneer, you must press down and squeeze out any air bubbles and make sure the copper and cabinet are well-bonded together. Start in the middle and work to the sides. There are lots of instructional videos out there in YouTube land.
For these Enchantment-veneered speakers, I used Creative Sound Solutions (CSS) 2TD-X MTM kit, which includes all the drivers and crossover components needed. I went with the option where all the speaker components were supplied. These were a little tougher to make than when I used BasicCopper.com’s Wildfire veneer and Audio Nirvana drivers from CommonSense Audio. Why? I only veneered two sides on the Wildfire speakers. I veneered three sides of the Enchantment speakers, which was much more difficult. I had to build a jig to keep the veneer away from the cabinet, thinking I could apply the copper by myself. This was mistake number two.

Crossover components from the Creative Sound Solutions kit.
When I had everything prepared I set the veneer on top of the dowels in the jig and started applying the veneer starting in the middle of the top of the cabinet. I told myself not to panic when I realized that this was not something that could be done by myself. I immediately called my neighbor and told him I had an emergency! He ran over and he held up one end of the veneer while I applied it. I removed one dowel at a time and flattened the veneer to the cabinet using my scraper.
I waited a day or so for the contact cement to cure. After that it was just a matter of trimming the edges. Trimming is something that must be practiced before you attempt it, unless one of your buddies owns an HVAC company (like my friend Christopher). Not practicing the technique would have been mistake number three.

Gluing and clamping the cabinet.
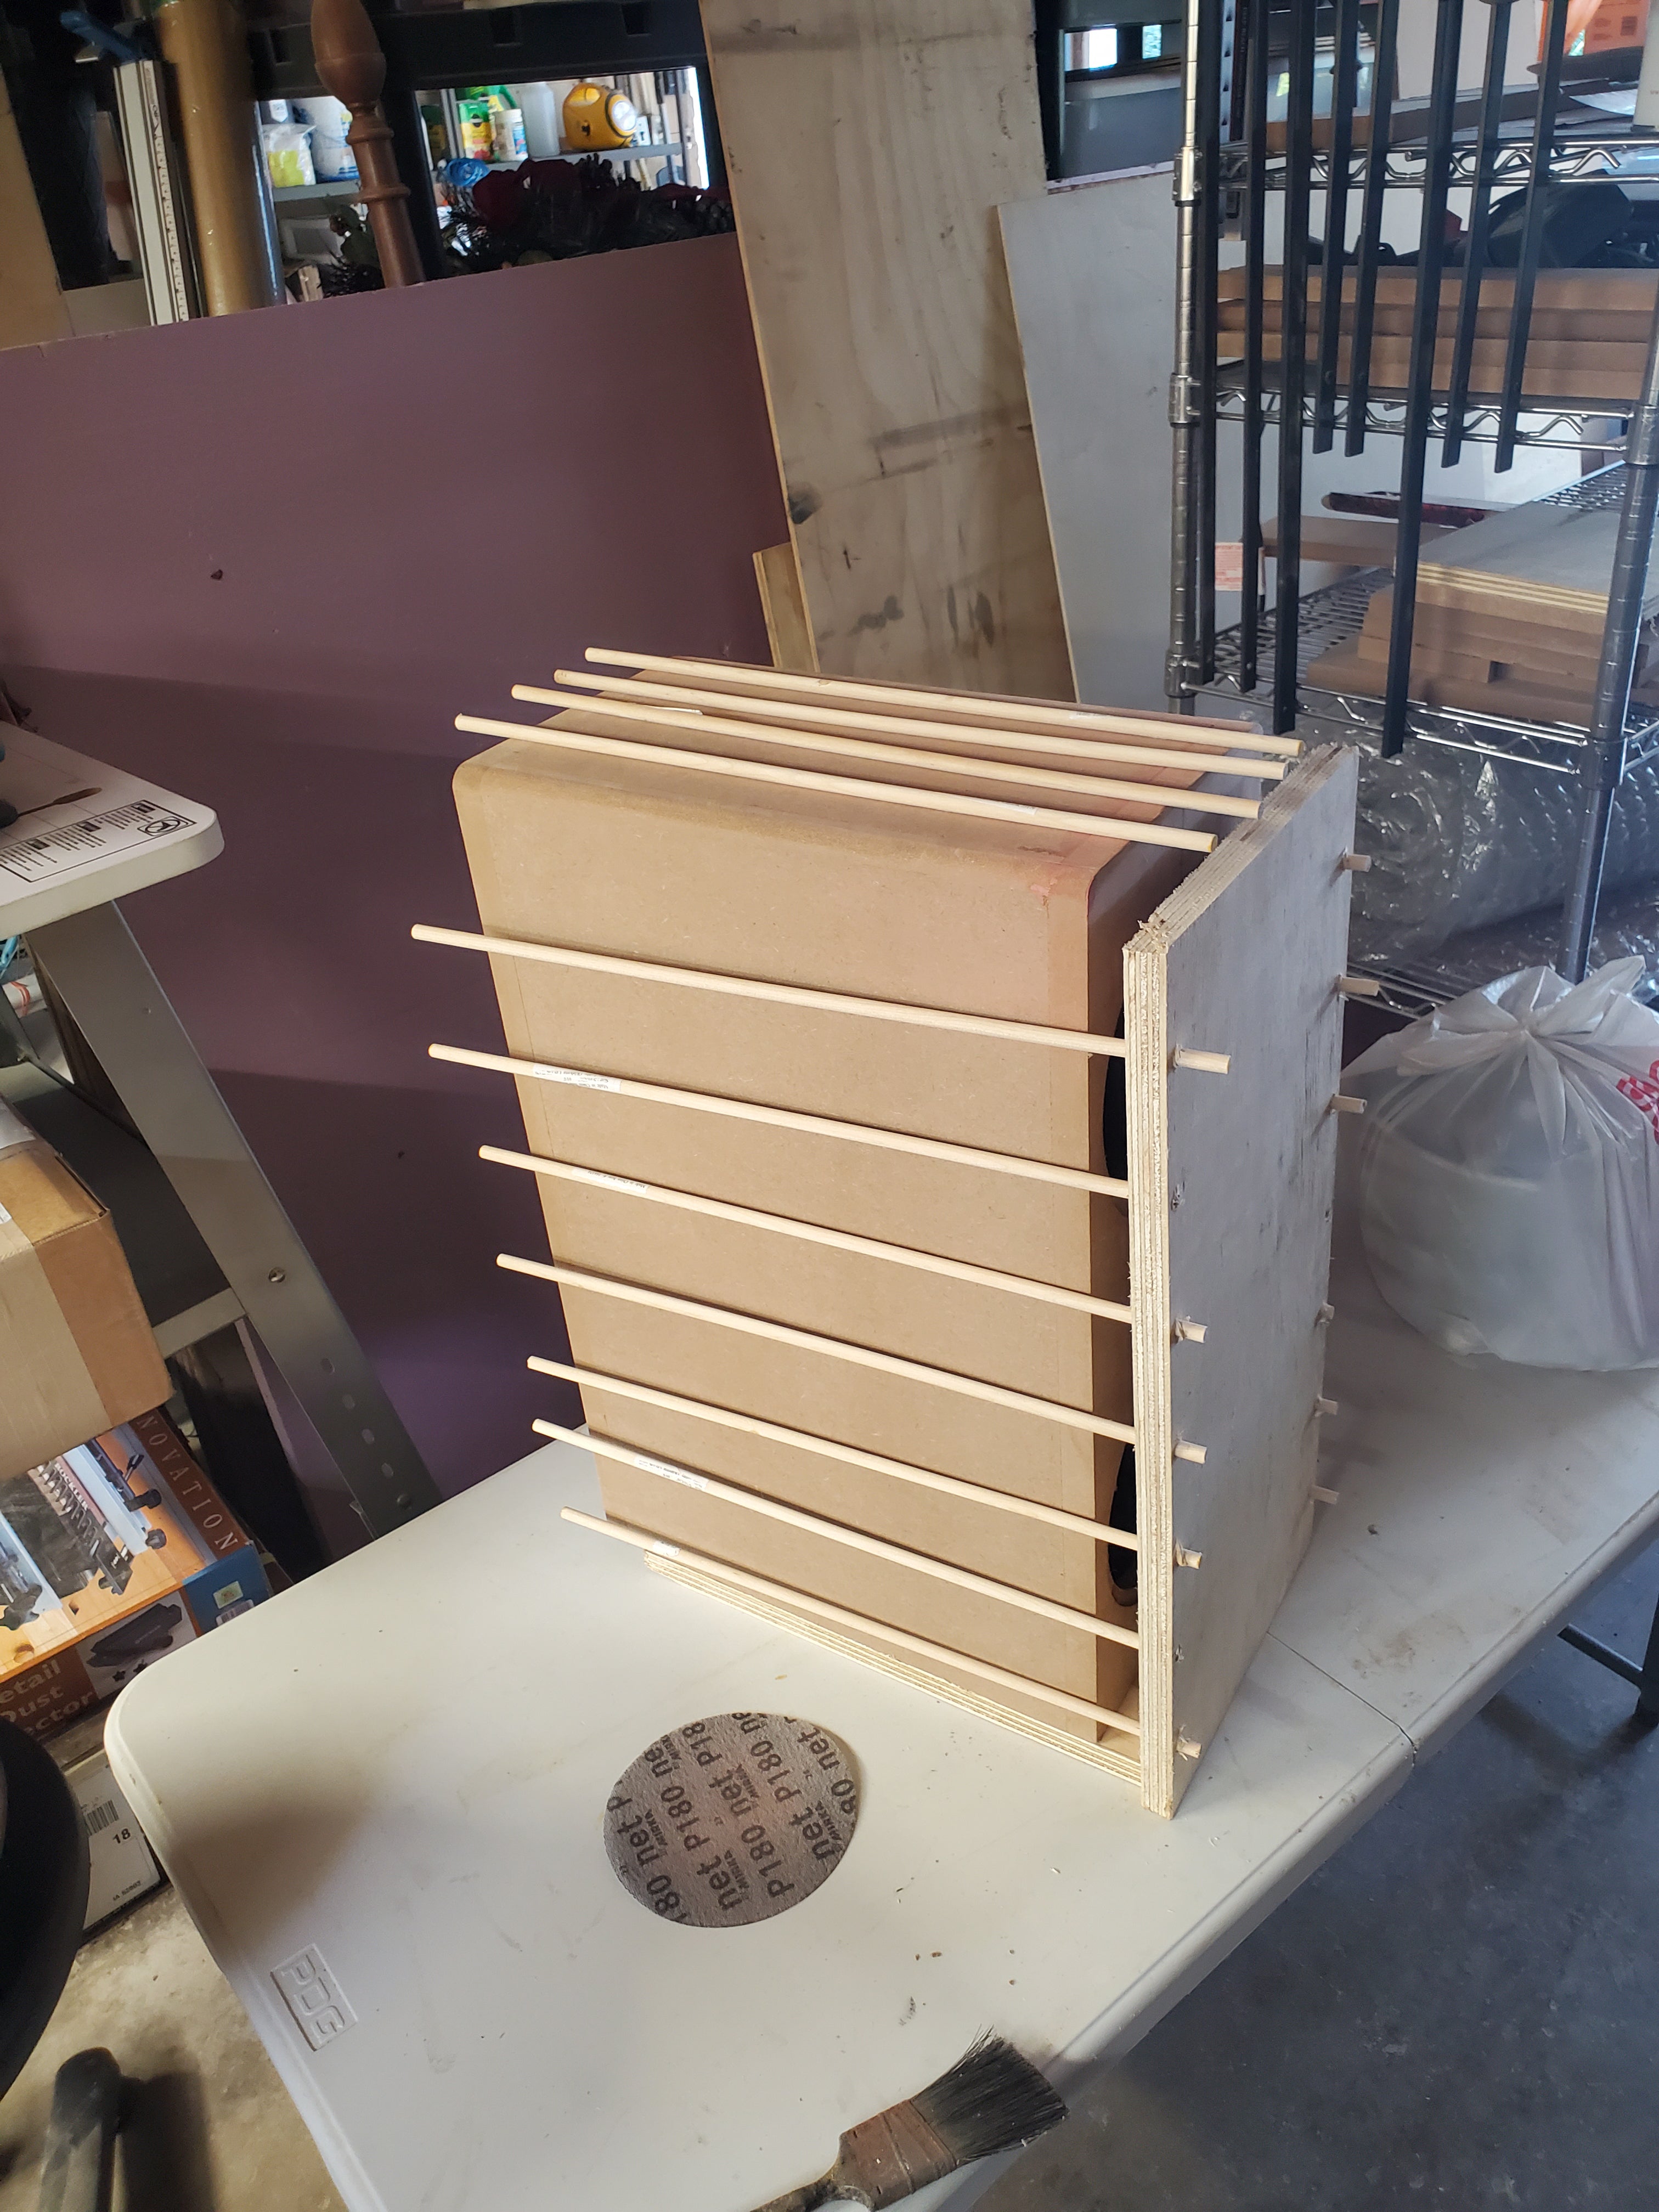
The dowels used in the fabrication jig.
After the trimming I used a file to knock down any sharp spots. I then painted (using a roller) several coats of DuraTex (at least five) speaker cabinet coating on the front, back and bottom. The DuraTex covered the edges of the copper, resulting in a nice transition on the edges. I then wrapped the copper part of the speakers with multiple layers of kitchen cellophane (Glad Wrap or similar) Then I soldered and screwed in the drivers.

At some point in the process they start to look like speakers.

They're taking shape...

Wrapping the speakers after veneering.
Then came the most terrifying part: will the speakers even work? Did I wire the crossovers correctly? Did I maintain polarity correctly? Was this going to be mistake number three?
The results were absolutely KILLER! They sounded amazing and also looked pretty cool! I spent dozens of hours building them and they were well worth the result.
After a couple of years, I’ve noticed a that few air bubbles have appeared. Still worth it? Heck yeah!

Almost there...

And all that hard work pays off.
Header image: the Enchantment raw copper veneer sheets from BasicCopper.com.
0 comments