DHCP is the standard means of routers and devices to connect over a network. DHCP basically means network devices will automatically be assigned an IP address (specific location).
Sometimes DHCP will not make an automatic connection in your network. If this happens, and your connection to PS Audio’s Bridge is severed then you can instead create a static connection to your Router.
If using a Windows computer type Command Prompt in the search bar to open the command prompt window. Type
ipconfig/all to see the network adapter settings:

If you are using a MAC select
System Preferences from the Apple menu and select
Network preference.
In most cases, you should then see
Using DHCP in the Configure IPv4 pop-up menu, along with your Mac’s IP address, subnet mask, router, DNS server, and search-domain information. Write down any listed IP addresses for the Router and the DNS Server.
 Click
Click the advanced button.

In the TCP/IP tab the Router IP address is the Gateway address. Write down the
Gateway IP address and the
Primary DNS IP address and move to your DAC.
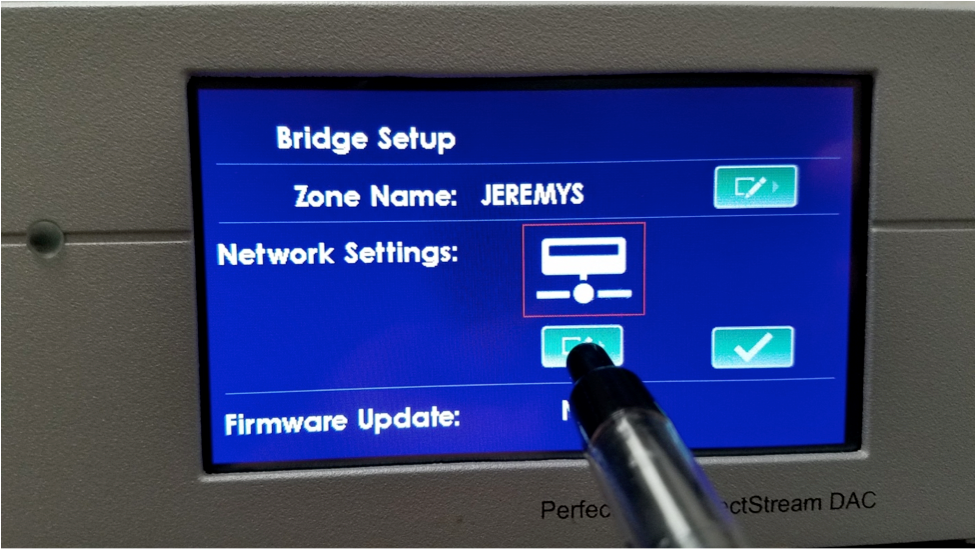
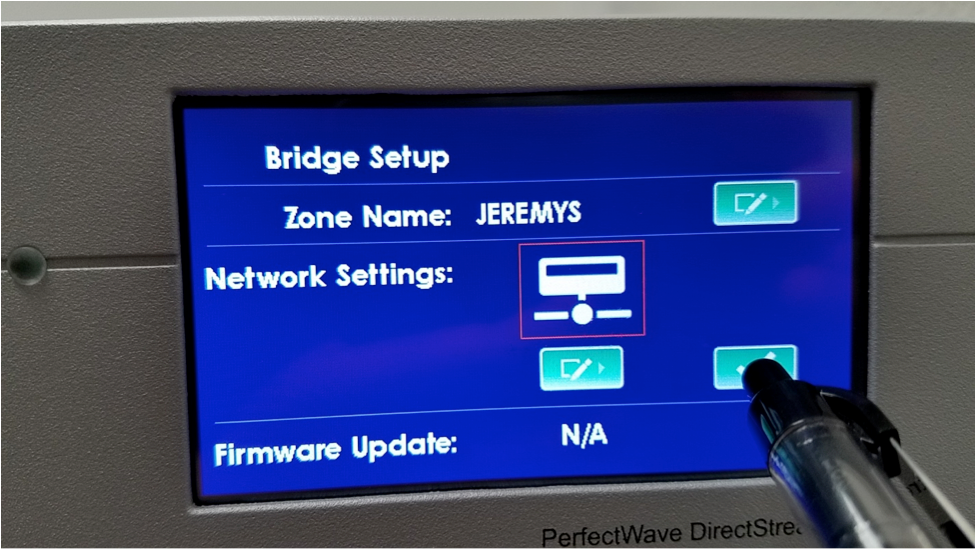
Step 1, press the network icon for the Bridge II.
 Step 2
, press the edit button in the Network Settings screen.
 Step 3
, Disable DHCP.
 Step 4
, Press the gateway IP settings button.
 Step 5
, manually delete the existing ip address and enter the one you copied from your ipconfig results in your computer. Click submit when you are done. Do the same for the Primary DNS IP.
 Step 6
, Save the gateway ip Step 7, save the network settings.
 Step 8
, Power off the DAC at the rear switch for 30 seconds and back on. Allow the DAC to connect to the Network.
Step 9, Look for the firmware update in the Network Settings screen.
 Step 10
, folow the bridge II update tutorial for updating your Bridge II:
https://www.psaudio.com/ps_how/how-to-update-bridge-ii/