
 You can find these on Amazon (just click the image itself for a link) or perhaps your local hardware store.
Of course we all need a tape measure for the tasks at hand but perhaps more important is the laser included with this device. One of my readers made a great suggestion that I've been using for setup and that is to put this device on the front edge of your loudspeaker and then use the laser inside to point to the other loudspeaker. This will give you an exact placement so the two loudspeakers are absolutely symmetrical.
So imagine placing this on the front of the left loudspeaker and pointing it towards the right loudspeaker. If you've measured properly you'll get a straight line of laser light in the exact same spot as you have the device - but the first time I tried this trick - even after careful measurement, the right loudspeaker was a full inch behind the laser light.
There are also laser levels, laser snap strings and a plethora of such devices that range from the very low cost to the very expensive. I would recommend adding one of these to your arsenal for setup.
Having the right tools can sometimes make all the difference in the world. Tomorrow an even cooler tool.
You can find these on Amazon (just click the image itself for a link) or perhaps your local hardware store.
Of course we all need a tape measure for the tasks at hand but perhaps more important is the laser included with this device. One of my readers made a great suggestion that I've been using for setup and that is to put this device on the front edge of your loudspeaker and then use the laser inside to point to the other loudspeaker. This will give you an exact placement so the two loudspeakers are absolutely symmetrical.
So imagine placing this on the front of the left loudspeaker and pointing it towards the right loudspeaker. If you've measured properly you'll get a straight line of laser light in the exact same spot as you have the device - but the first time I tried this trick - even after careful measurement, the right loudspeaker was a full inch behind the laser light.
There are also laser levels, laser snap strings and a plethora of such devices that range from the very low cost to the very expensive. I would recommend adding one of these to your arsenal for setup.
Having the right tools can sometimes make all the difference in the world. Tomorrow an even cooler tool.
Lasering
by Paul McGowan
Our series on setting up your system for best advantage talked a lot about measuring and making sure your loudspeakers are spot on in terms of distance to the rear wall, distance to your listening position, equidistance toe in, setback, etc. All these measurements are quite critical because at higher frequencies the wavelengths can be measured in tenths of an inch.
One of the best tools I have cost me a whole $30 and I would encourage you to consider getting one or something similar. It is a cool little tape measure that also has a laser built into it that you can use to make sure something's straight or lined up - and it's lined up we're most interested in.
You can find these on Amazon (just click the image itself for a link) or perhaps your local hardware store.
Of course we all need a tape measure for the tasks at hand but perhaps more important is the laser included with this device. One of my readers made a great suggestion that I've been using for setup and that is to put this device on the front edge of your loudspeaker and then use the laser inside to point to the other loudspeaker. This will give you an exact placement so the two loudspeakers are absolutely symmetrical.
So imagine placing this on the front of the left loudspeaker and pointing it towards the right loudspeaker. If you've measured properly you'll get a straight line of laser light in the exact same spot as you have the device - but the first time I tried this trick - even after careful measurement, the right loudspeaker was a full inch behind the laser light.
There are also laser levels, laser snap strings and a plethora of such devices that range from the very low cost to the very expensive. I would recommend adding one of these to your arsenal for setup.
Having the right tools can sometimes make all the difference in the world. Tomorrow an even cooler tool.
 Paul McGowan
Founder & CEO
Never miss a post
SubscribeRelated Posts
-
Less than amazing
Paul McGowan -
Armchair warriors
Paul McGowan -
Heart and soul
Paul McGowan -
Secondary effects
Paul McGowan -
Direct to disc
Paul McGowan


Keep reading
View all-
One Size Doesn’t Fit All: Paul McGowan’s Favori...
When it comes to high-end audio, we can all agree that there's a huge obsession with which pieces of gear sound the way we hope for. Some of us prefer the...
-
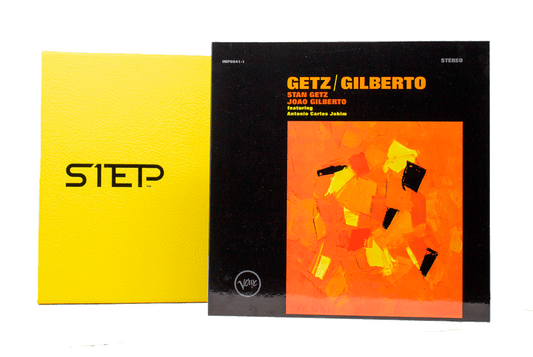
Impex Reissues the Bossa Nova Jazz Classic Getz...
Getz/Gilberto is one of the most well-known and well-loved jazz records of all time. Rightfully so: the 1964 Verve release by Stan Getz and João Gilberto is one of the...
- Choosing a selection results in a full page refresh.
- Opens in a new window.