Written by Paul McGowan
Converting one file type to another is easy in iTunes, either on a Windows or Mac computer. There are two types of files iTunes will not deal with: FLAC and WMA. iTunes will handle most everything else.
If your music is stored on your computer or an external hard drive or NAS and is managed with the iTunes interface, then it is a simple matter to convert one format, such as ALAC (Apple Lossless Audio CODEC) to AIFF or vice versa.
The first step is to open iTunes Preferences. Go to iTunes->preferences. Go to the General preferences are and select Import Settings.

From the drop down list, choose the file type you want to convert to. This is also the place where you set how you wish iTunes to import (rip) your media. Select OK.
Once the import settings have been established, it is now a simple matter to select (highlight) a track, album or group of tracks or albums you wish to convert. To select a group in a row, click the first in the row, hold the shift key down and select the last in the group. All will be highlighted. To individually select a group, hold the control or command (Apple logo key) down and click on each track or album you wish to select.
Once selected, go to File->Create new version and choose the selected file type.
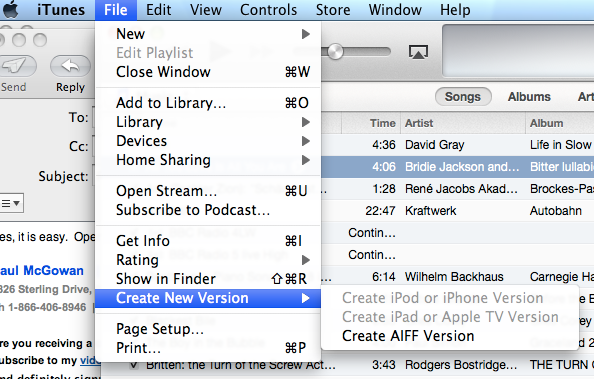
iTunes will convert all highlighted files to the new version and make a new copy. If you wish, you may then select the old versions and delete them. The easiest way to find all the old files together is to sort by Date Modified. To sort by Date Modified, go to iTunes top sorting bar and right click for the options. Choose Date Modified.

Highlight all the old versions and delete them in the trash. Your files are now modified.